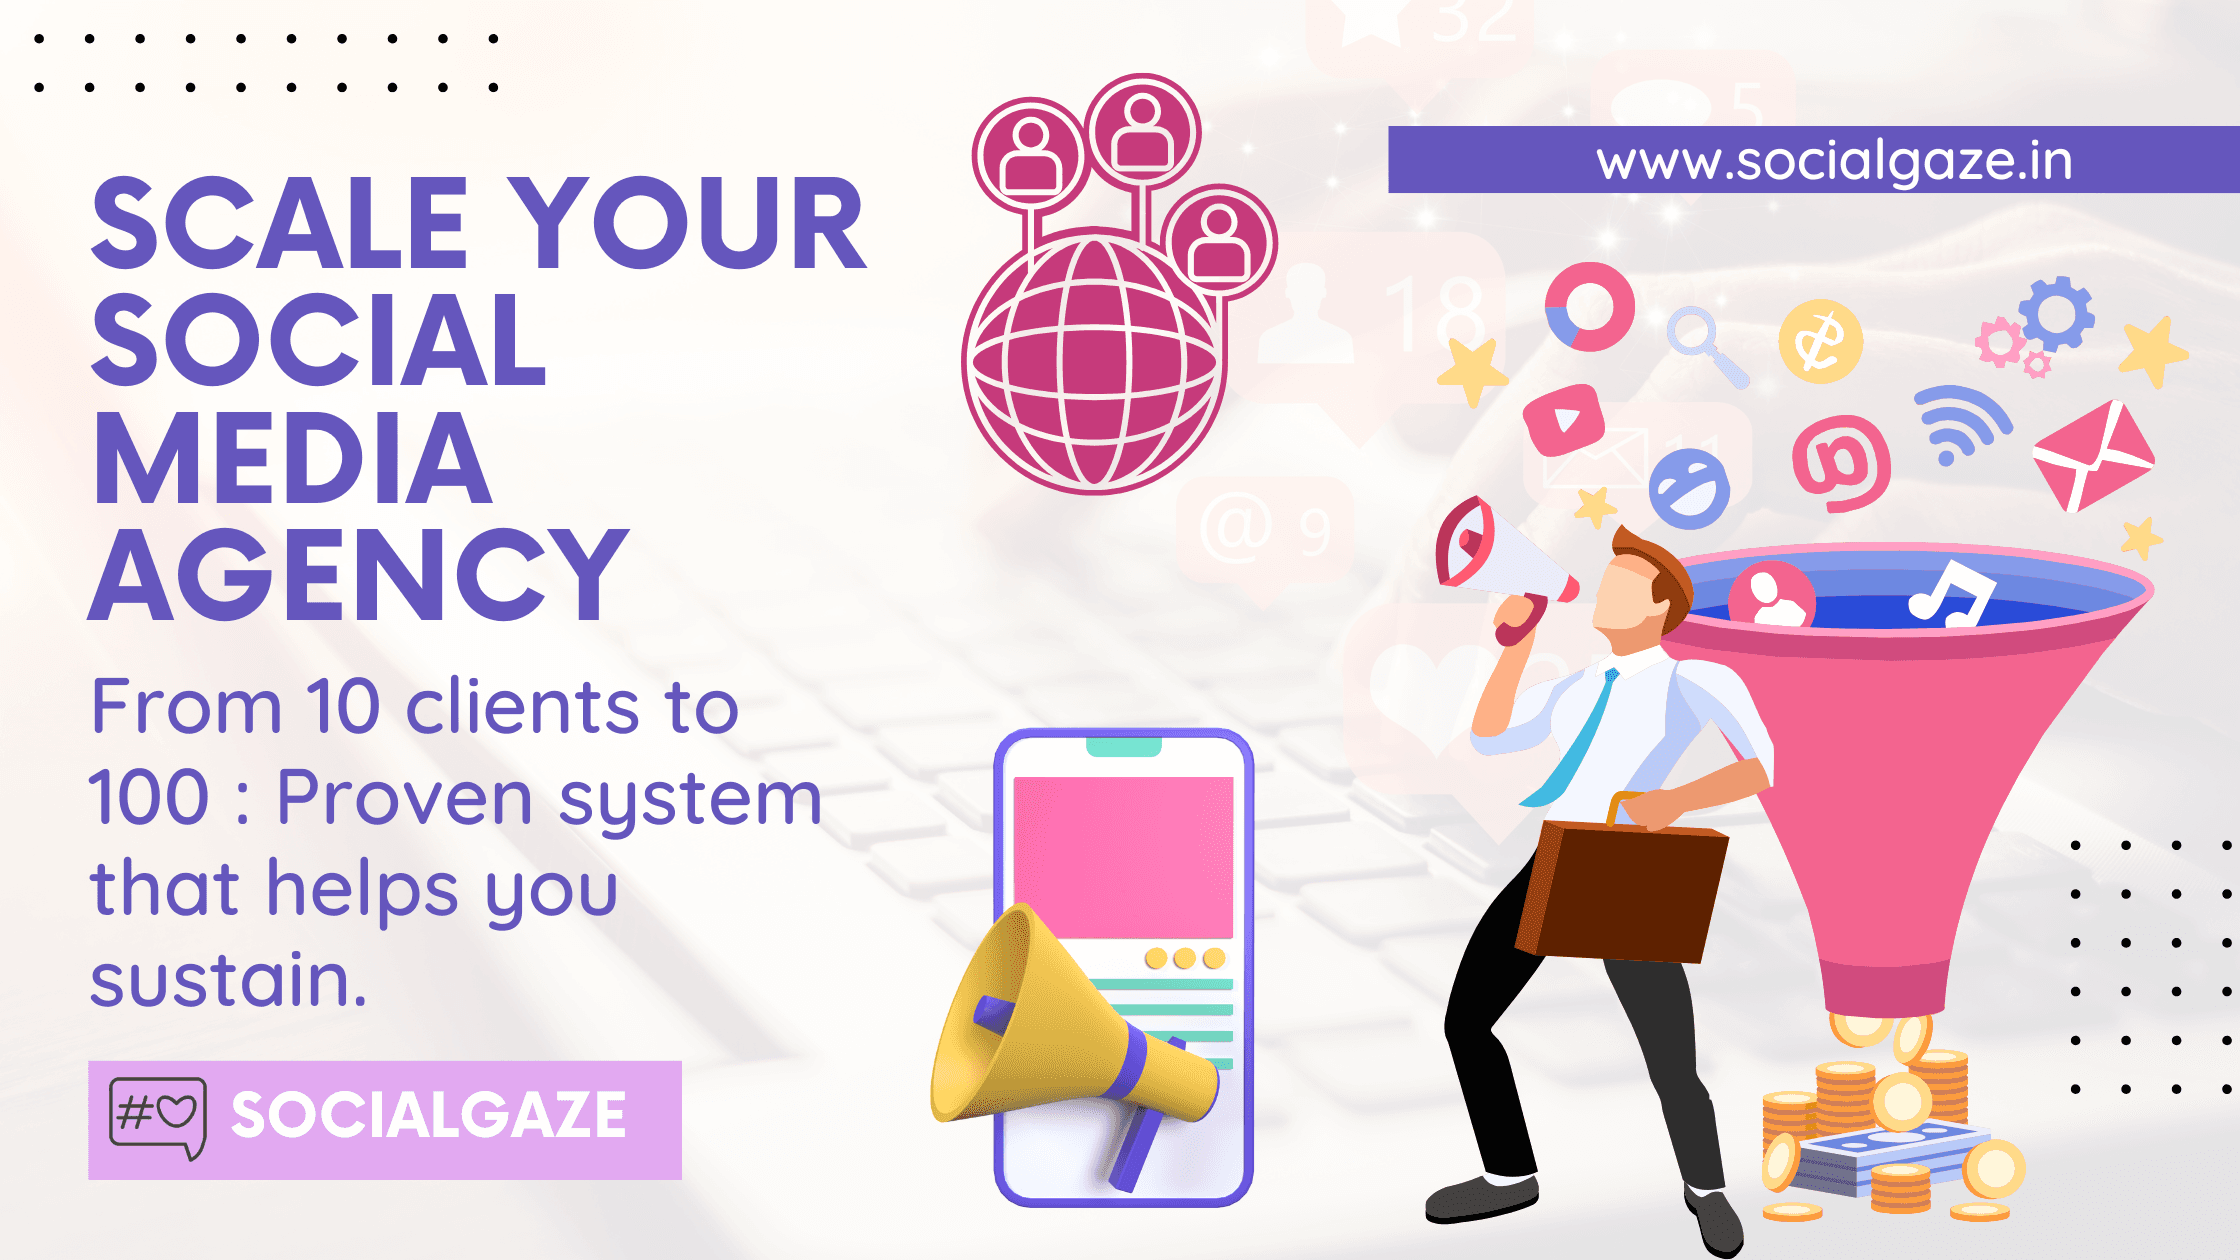

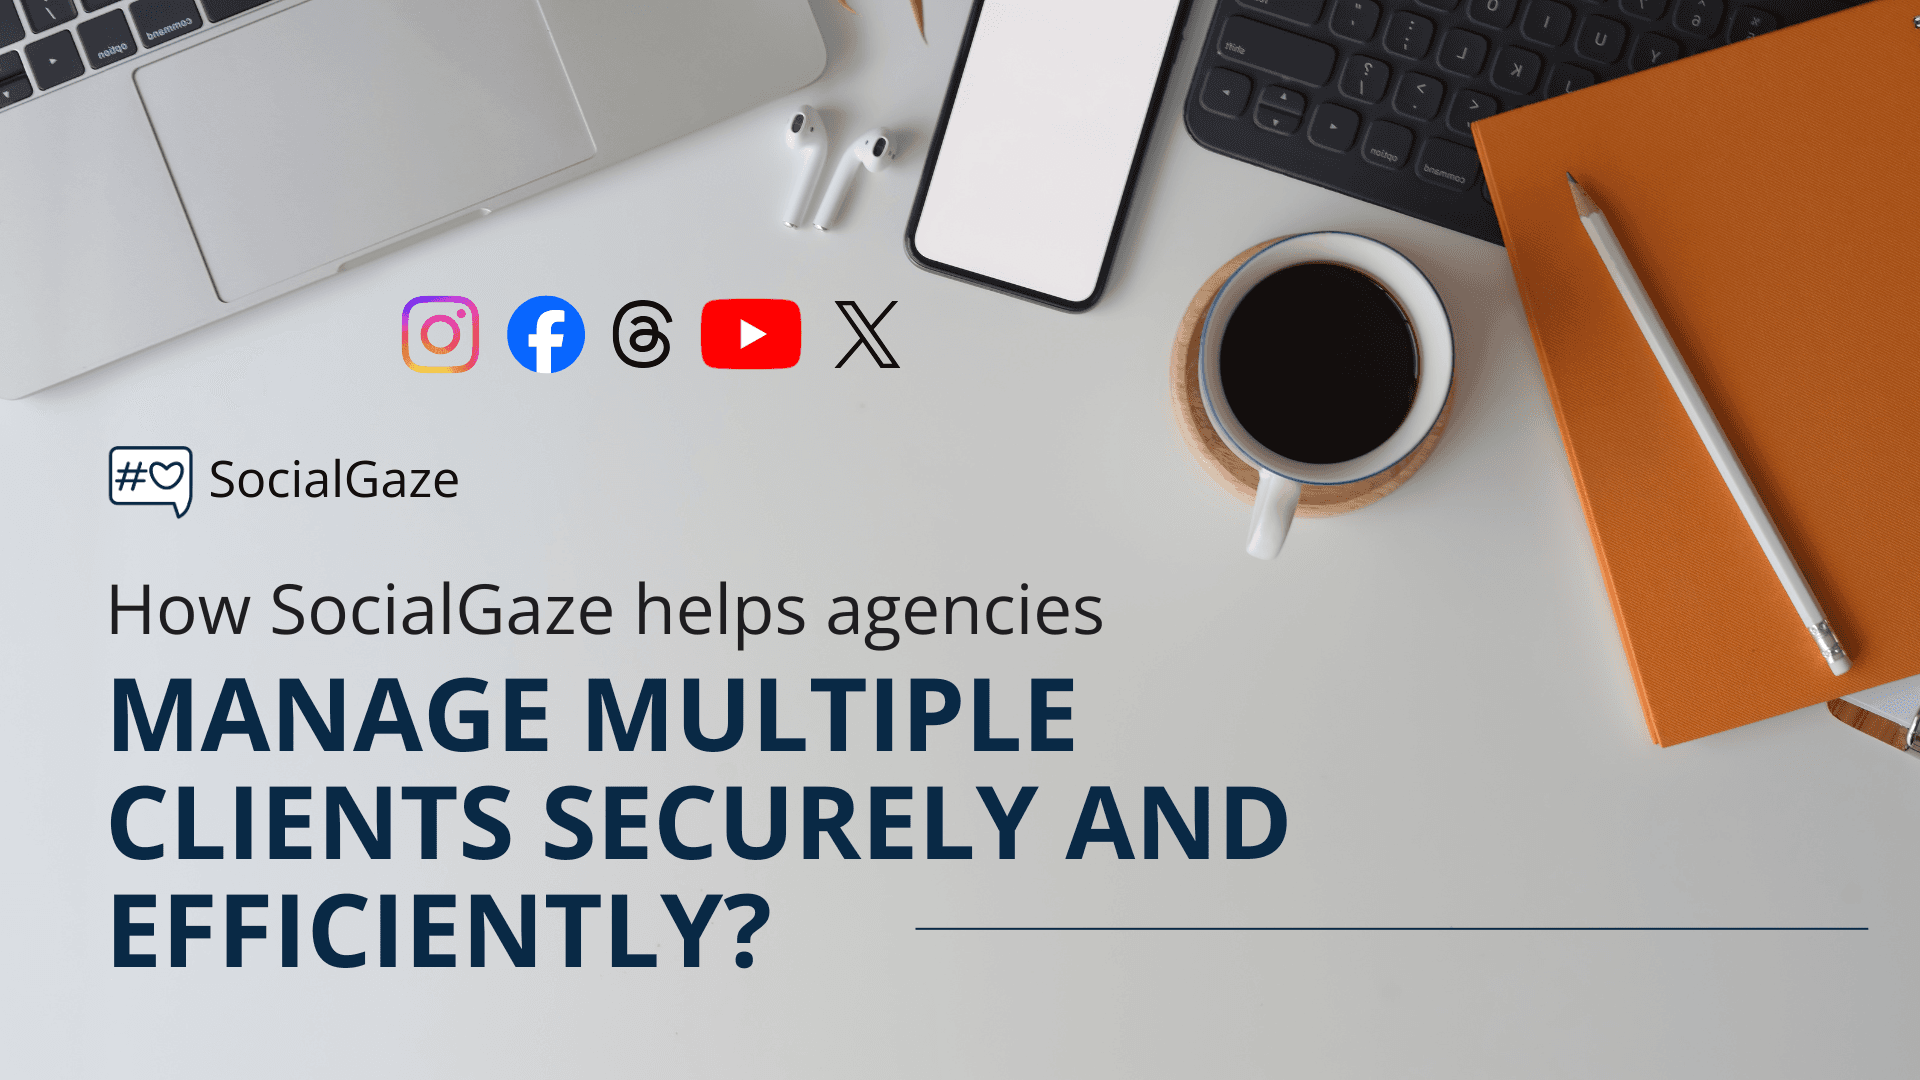
How SocialGaze helps agencies manage multiple clients securely and efficiently?
Discover why top social media agencies prefer all-in-one tools for smarter, faster scaling.
Content writer passionate about simplifying digital trends and tech tools for everyday creators. Writing to inform, inspire, and grow.
Introduction
Why does a social media agency need a Social Media Management (SMM) tool when everything can technically be done manually?
The answer is simple: to grow, save time, and operate efficiently at scale. Many agencies struggle not because they lack clients, but because they lack the systems and structure that allow smooth delegation, clear workflows, and aligned decision-making. Without a centralized tool, operations become messy, responsibilities overlap, and productivity suffers.
SocialGaze helps the social media agencies in building strong internal systems, cut costs, and automate repetitive tasks so they can focus on strategy and growth.
In this blog, we’ll explore why choosing a social media management tool is very essential for scaling. Let’s look into the features SocialGaze offers and how to use them for maximum efficiency.
1. Post Scheduling
Scheduling posts means you can create content in advance and set it to automatically publish on a specific future date and time. This allows agencies to maintain a consistent posting schedule without the stress of manual uploads. It ensures that once a post is scheduled, your part of the responsibility is done. SocialGaze also offers a post preview, letting you see how the final post will appear before it goes live, which helps avoid formatting or visual errors.
Why agencies need Post Scheduling?
Agencies work with multiple clients, and manual posting becomes chaotic and time-consuming as the workload grows. Scheduling ensures consistency, which is crucial for client retention and algorithm performance. It also reduces the risk of missing posting times due to human error or workload spikes. With scheduling, agencies can plan content calendars strategically instead of rushing last-minute uploads.
How to schedule posts:
Open your SocialGaze account and go to the homepage.
Click on Create Post.
Add your post content, caption, hashtags and media files.
Select Schedule Publish Time and choose the date and time for publishing.
Click on Upload, it’ll take a few minutes to upload your media (depending on media file size).
Once uploaded, the created post will be visible in post history tab.

2. DM Automation & Comment Automation
DM and comment automation allow agencies to automatically send replies when users comment with specific keywords or interact with particular posts. This feature helps in managing large-scale engagement without manual effort. It is especially useful during campaigns, giveaways, lead generation, and FAQ-based interactions. With automation, agencies can maintain fast response times, consistent communication, and improved audience engagement all without lifting a finger after setup. At the moment, SocialGaze provides these automations for Instagram only, and soon it’ll be added for more platforms.
Why agencies need DM/Comment automation?
Agencies often struggle to reply to hundreds of comments and DMs during campaigns, giveaways, or viral posts. Automation ensures immediate engagement, which boosts visibility and keeps audiences satisfied. It also prevents missed leads and unanswered queries, which can cost clients opportunities. With automated replies, agencies maintain professionalism while saving hours of manual effort.
How to configure DM/Comment Automation:
Open your SocialGaze dashboard.
Navigate to DM Automation or Comment Automation from sidebar.
Click on Add new.
Add automation details like the name, social account, and the specific Instagram post.
Enter the trigger keyword.
Add the reply message that will be sent automatically.
Click on create and the automation will be configured for the selected post.


3. Team Management
Team Management is designed to help agencies operate as organized units rather than scattered individuals. A social media agency involves content creators, strategists, designers, editors, and sometimes even clients who need to review posts. This feature allows you to invite team members, assign roles, control access levels, and monitor activity. It improves collaboration, reduces confusion, and creates a transparent workflow where everyone knows their responsibility.
Why agencies need team management?
Agencies need this feature because juggling multiple clients becomes chaotic without proper role distribution. Team members can directly work inside their assigned workspace, upload content, track tasks, and stay aligned. This feature also enhances trust with clients who can be added as reviewers, ensuring they stay involved without endless back-and-forth chats. Also allow your client to add their social account securely without sharing the password.
How to invite new team members:
Go to Settings at the bottom of the SocialGaze app.
Click Manage Team.

View existing team members and their activity status.
Click on Invite New User to add new member.

Enter their full name, email, and role (Admin, User, Reviewer).
Assign them to the relevant Workspace.
4. Workspace
Managing multiple clients manually becomes overwhelming, especially as the number of projects increases. Workspace Settings allows you to create dedicated spaces for each client so their content, scheduling, approvals, and analytics stay separate. This creates a clutter-free structure and ensures that your team only sees the tasks relevant to that particular client. Workspaces help agencies build a more organised workflow and reduce the chances of mixing up content.
Why agencies need the multiple workspaces?
Separate workspaces prevent content, analytics, and tasks from getting mixed up between clients. Agencies can manage 5, 10, or even 50 clients without confusion or loss of information. It keeps each client’s workflow organized and makes team access smoother and more accurate. With workspaces, agencies eliminate errors like posting content on the wrong account, the worst nightmare for any agency.
How to create new workspace:
Open SocialGaze and go to Settings.
Click on Workspace.

You will start with a default primary workspace.
Click Add New Workspace.
Name the workspace based on the client (e.g., Client 1, Client 2).
Add team members to that workspace if needed.
5. Post Review Workflow
The post review workflow in SocialGaze ensures that nothing gets posted without proper approval. Before a post goes live, you can send it to a reviewer either a team member or the client: who can approve or reject it. This eliminates miscommunication, reduces errors, and ensures the content matches the brand guidelines. Reviewers also receive email notifications, making the whole review cycle smooth and transparent.
Why agencies need a review workflow?
Post approval is one of the most time-consuming parts of agency work because it involves constant back-and-forth messages with clients or teammates. This feature centralises the review process, making approvals faster, clearer, and fully trackable. It helps maintain brand accuracy and reduces the chances of incorrect content going live. Agencies gain better workflow transparency, fewer mistakes, and more professional client communication.
How to Use the Review Feature
Click Create Post.
Under New Post, add the post details and media files.
Select social accounts and enter scheduling time if needed.
Select Request review and choose a reviewer from drop-down.
Schedule the post - the reviewer will be notified through email.
The reviewer can access the post in Pending Post Approvals.

Click on Review to open review post drawer.
Check all the details and click on Approve or Reject as per your review, it’ll notify the post creator through an email.

Track all your created posts in Post History tab. You can also edit the post’s title, description, scheduled publish time and automations (in case of Instagram post) before a post is published. This is also useful in case reviewer has rejected the post, you can make required changes and re-submit for review.


SocialGaze brings together all the essential tools a growing social media agency needs to function smoothly, professionally, and efficiently. Its features help agencies save time, reduce operational costs, and create a structured workflow without unnecessary chaos. With automated engagement, workspace segregation, team management, and seamless scheduling, agencies can focus more on strategy and creativity instead of manual tasks. These features, combined with an easy-to-use interface and cost-effective plans, make SocialGaze an ideal tool for agencies that want to scale faster and manage multiple clients with clarity and confidence.
Frequently Asked Questions (FAQs)
Are the Workspaces and Post Approval features available on the Free Plan?
No, these features are exclusive to our Standard and Pro plans.
Try it Free: You can experience the full functionality of the Standard Plan with a 1-month free trial. Activate your trial on the billing page using the coupon code: SGINTRO1M.
How are users notified about review requests, approvals, or rejections?
Users are notified via email throughout the post approval workflow:
Review Request: An email notification is automatically sent to the selected reviewer once a post is submitted for review.
Approval/Rejection Status: The post creator will receive an email notification once the reviewer approves or rejects the post.
How do I update my name, email address, or password?
You can easily manage your profile details within your account settings: Navigate to Settings in the sidebar menu. Select the Profile tab to make changes to your name, email address, and password.